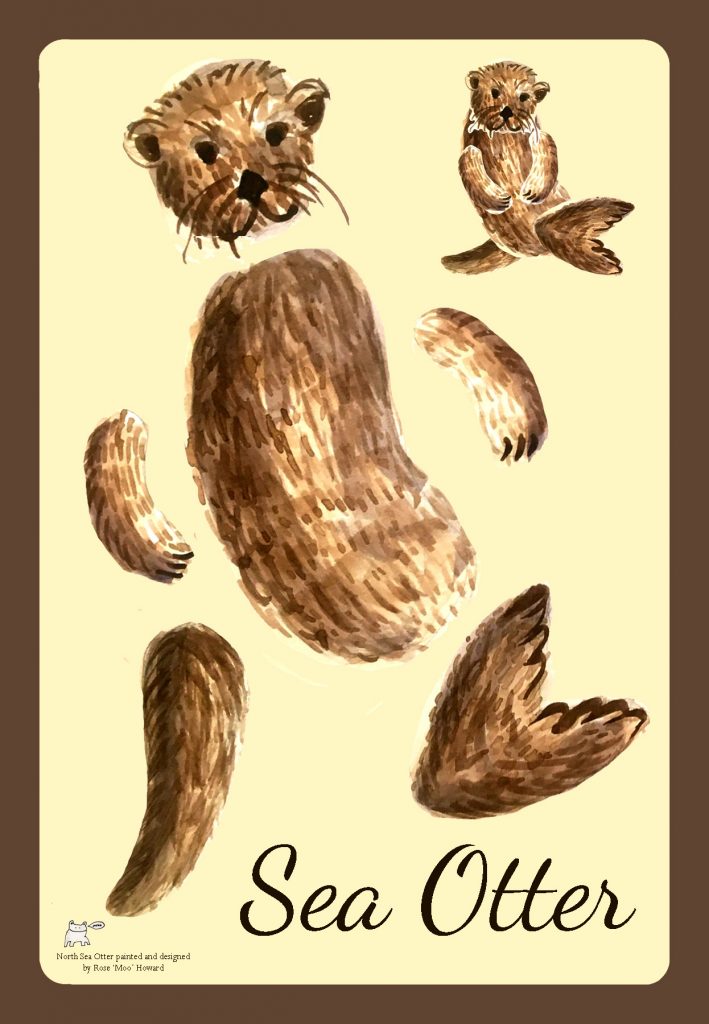
Art by Rose Moo Howard, postcard design by Charity Rae (front) & Christina Coleman (back).
- Cut out all the sea otter pieces.
- Try arranging the pieces where they go before poking the holes. The x is a rough guide, but you might like your puppet arranged slightly differently, so test it out first.
- Once you’ve found the right spot, poke the holes with something sharp – you can use an awl, or a needle. The holes are pretty small. It’s best to place the head in front of the body, not behind. Then it can spin!
- Stick the brads through the holes and open them in the back.
- You can decorate the puppet by coloring it in. Try markers! Paint? You can glue things onto it! You can cut something out of paper and add an accessory.